Quinoa flour is a protein rich flour, naturally gluten free and a great alternative to more mainstream flours. However, anyone who has cooked with it will know that it is quite dry as a flour so it cannot usually replace flours such as spelt, almond or chickpea altogether. The usual ratio remains a maximum of 25 to 30% of quinoa flour to 70/75% other flour.
When I bought my first pack of quinoa flour I made some muffins with a much higher quinoa flour content than the original recipe required. They turned out well except that they were a little on the dry side. However, this very quality is what makes quinoa flour ideal to make dry crackers and/or flatbreads where crispness is not just desirable but sought after.
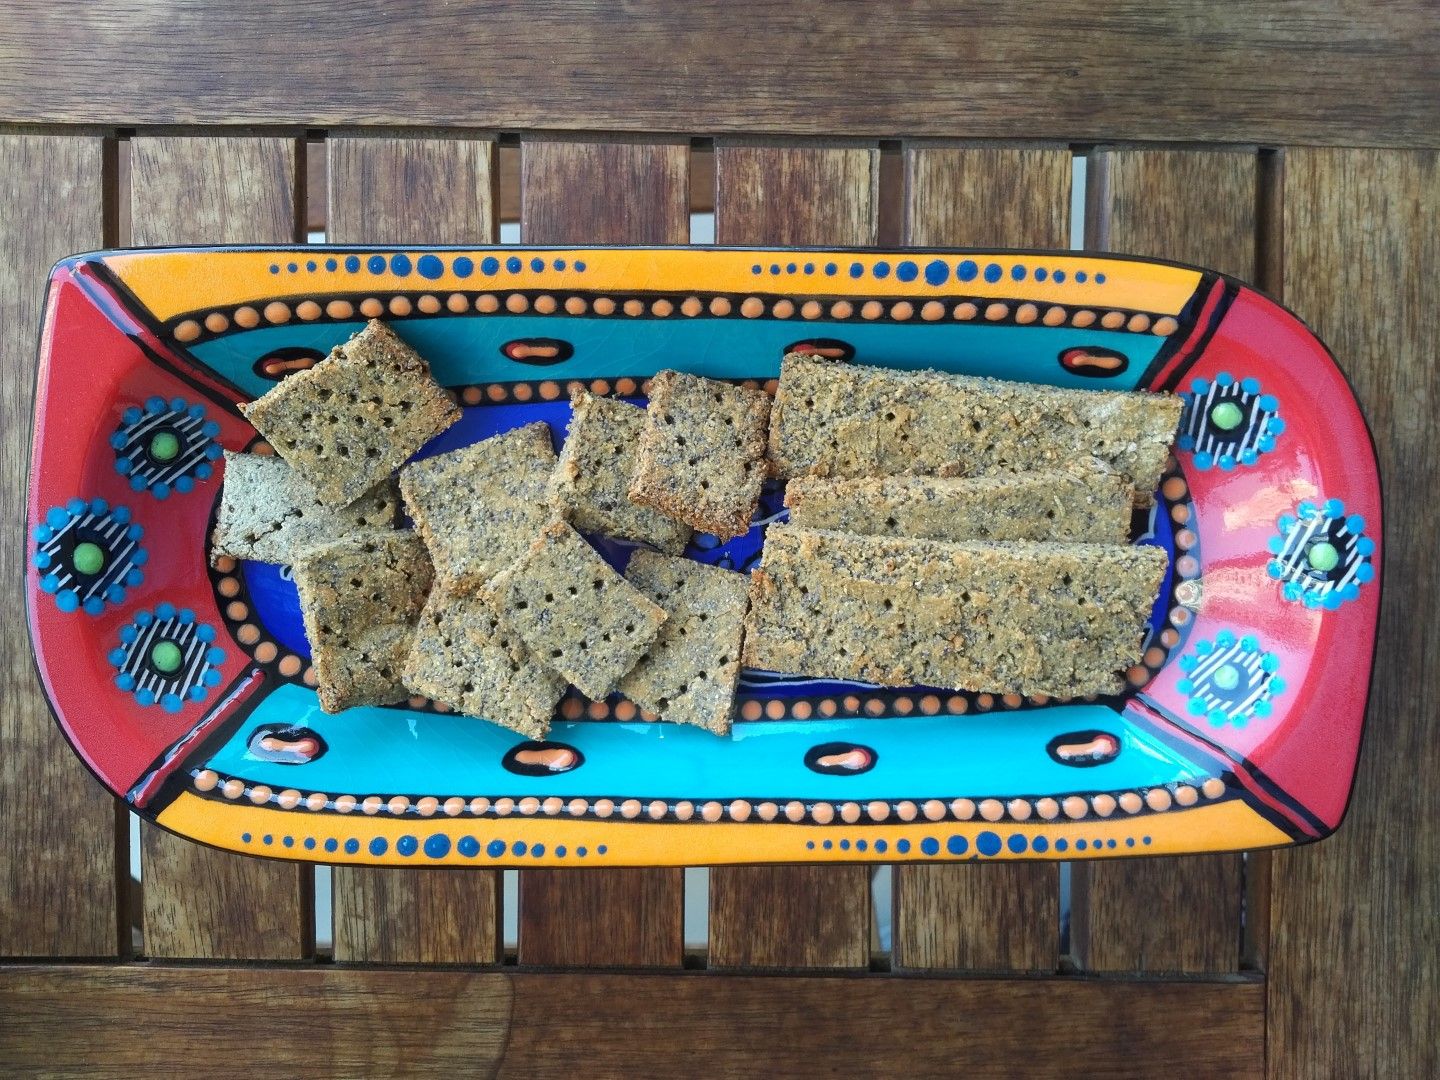
Below is my first experiment with home made crackers. The taste will very much depend on what herbs you choose to use. The more spices you use the stronger the taste. I also opted for a large portion of seeds, you might like to reduce that slightly. Most online recipes for crackers use carrots, and a sweetener. I chose not to use either. I prefer my crackers to be more savoury rather than sweet, or at the very least neutral in taste.
1 cup quinoa flour
½ cup chickpea flour
½ cup seeds (could be reduced to ⅓ of a cup: chia seeds, poppy seeds, black sesame, black cumin ….)
1 – 2 tbsp dried rosemary and 1 tsp oregano
1 tsp garlic powder
½ tsp fine sea salt
2 tbsp olive oil
approx. 10 tbsp cold water (as needed)
1. Pre heat the oven to 190°/200° and line a flat oven tray with greaseproof paper.
2. In a bowl or food processor mix the flours, dried herbs, seeds, garlic powder, salt an olive oil. Mix well then slowly begin to add the cold water. Keep going until you achieve a pliable dough.
3. Lightly flour a clean surface and the rolling pin and roll out the dough as thin as you can make it without making it crack. You could roll it out directly on your tray so that the dough doesn’t break when you are transferring it to the oven tray.
4. Take a knife and cut the pastry into the desired shape. I did some small squares and rectangles of different sizes. Prick these with a fork and place in the hot oven to cook.
5. Cooking times will depend on how thick your crackers are. Don’t forget that the outer crackers will also cook faster than the ones in the middle of the tray. Mine took about 15 to 20 minutes.
6. Once cooked a skewer should come out clean from the centre and the edges should be golden. Turn off the oven but leave the tray inside with the oven door open to cool down completely. Letting them cool in such a way will allow them to become more crisp.
7. When they have cooled down, break the crackers apart following your cuts. Store in an airtight container.
You can serve this as you would regular crackers: as snacks, as a basis for your spreads or make them larger into crispy flatbread pizza bases. If you choose to try the latter, cook as above then remove from the oven whilst hot, place your chosen toppings and return to the oven for a few minutes to allow the cheese to melt and/or other ingredients to warm up.
My crackers were an instant hit. I hope yours are, too!